Before the Hauler Arrives: Delivery-Day Planning for a Battery-Powered Dump Cart
Share
Buying a battery-powered dump cart is not only a product decision.
It is also a site preparation decision.
Before the vehicle arrives, the owner should know where the hauler will be received, where it will be parked, how it will move from the delivery point to the work area, where it will charge, and what should be checked before the first job.
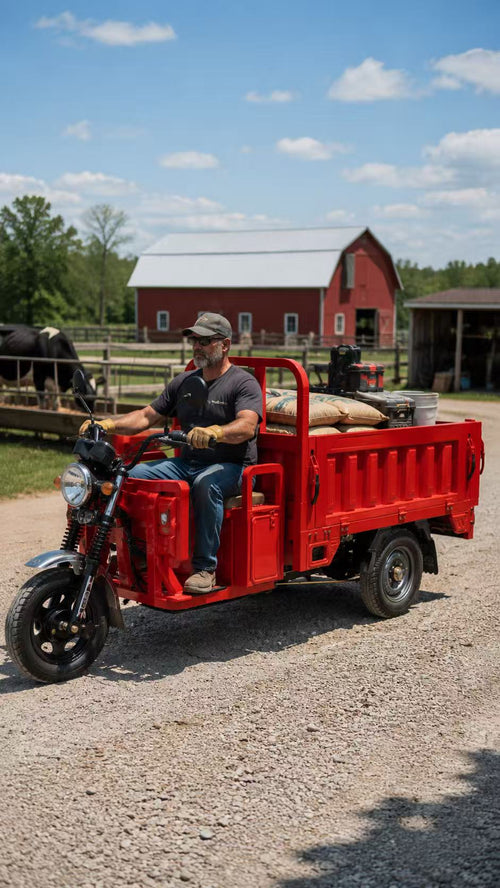
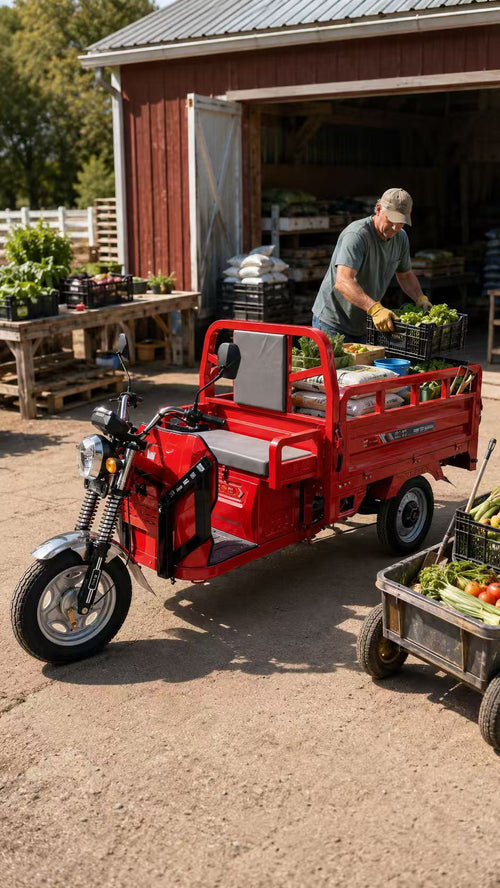
This matters for farms, ranches, horse stables, landscaping companies, nurseries, rural properties, and property maintenance teams. A compact electric hauler may be designed for daily material movement, but the first day can still become frustrating if the delivery area is blocked, the ground is soft, the storage spot is not ready, the charging location is unclear, or workers do not know where the vehicle should go after arrival.
Good delivery-day planning helps the vehicle become useful faster.
The goal is simple: when the hauler arrives, it should not sit in the wrong place while the team figures out what to do next.
Delivery day starts before the truck arrives
Many buyers think about how the vehicle will work after it is already on the property.
That is important, but the first practical question comes earlier:
Where will the vehicle be received?
A delivery point should be open, firm, and easy to access. It should not block a public road, driveway entrance, barn door, gate, animal lane, resident walkway, service route, or loading zone. It should also be close enough to the storage or work area that the vehicle can be moved without unnecessary difficulty.
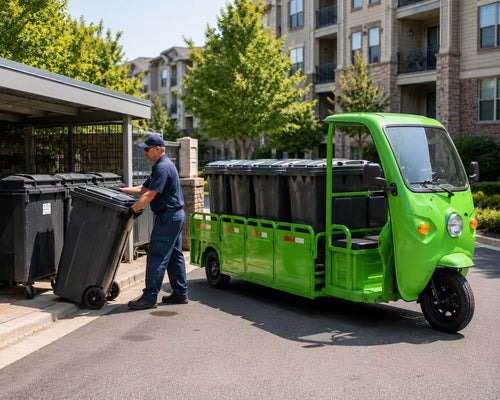
For farms and rural properties, this may be a gravel driveway, equipment yard, barn-side lane, or compacted service area. For landscaping companies, it may be a shop yard or equipment storage area. For apartment or HOA maintenance teams, it may be a maintenance yard or service entrance.
The delivery point should be chosen before the vehicle arrives, not after.
Choose a firm receiving surface
A battery-powered dump cart should be received on a surface that can support the vehicle and allow basic movement.
Firm gravel, concrete, asphalt, compacted dirt, or a stable equipment pad is usually better than soft grass, wet soil, muddy ground, loose gravel edges, or a crowded uneven area.
The receiving surface matters because delivery day often involves inspection, positioning, and moving the vehicle to its first storage location. If the ground is soft, wet, sloped, or blocked, the first movement may become harder than necessary.
A good receiving area gives the operator and workers enough room to stand, look around the vehicle, check basic condition, and move it away from the delivery point safely.
This is not about creating a perfect loading dock.
It is about avoiding a poor first setup.
Clear the path from delivery point to storage
The vehicle should have a clear path from the receiving area to its planned storage or charging location.
This path should be checked before arrival.
Look for gates, narrow turns, low branches, barn doors, tool piles, feed bags, hoses, ladders, parked equipment, animal paths, soft ground, and tight corners. A compact hauler may fit through many spaces, but the first movement should not require last-minute rearranging.
If the vehicle is delivered near a driveway but will be stored near a barn, tool shed, equipment bay, covered parking area, or maintenance shop, the route between those locations should be ready.
A good delivery-day route should answer three questions:
Can the vehicle move from the delivery point to storage?
Can workers walk around it if needed?
Can the route stay clear without blocking other work?
If the answer is yes, the first day becomes easier.
Do not receive the vehicle in a crowded work zone
A common mistake is receiving new equipment in the middle of an active work area.
That may be a barn aisle, feed room entrance, landscaping material zone, greenhouse path, maintenance shop doorway, apartment service road, or ranch gate area.
This creates pressure immediately. Workers need to move around the new vehicle. Other equipment may be blocked. Animals may need to pass. Tools may need to be moved. The vehicle may sit in the wrong place before anyone has time to check it properly.
A receiving area should be separate from the busiest work flow when possible.
The hauler should be close enough to move easily, but not placed where it interrupts daily work.
Delivery day should not create a traffic problem on the property.
Plan the first parking spot
The first parking spot is not always the final storage spot.
When the vehicle arrives, it may need a temporary inspection area before it is moved to its regular storage location. This first parking spot should be firm, open, and convenient for checking the vehicle.
Workers may need to look at the tires, cargo bed, frame, handlebar area, controls, charger, battery area, fasteners, and general condition. They may also need to remove packaging, organize accessories, or prepare the vehicle for initial use.
If the vehicle is parked tightly between other tools or equipment, these checks become harder.
A good first parking spot gives the team room to inspect, understand, and organize the hauler before it becomes part of the daily workflow.
Prepare the charging location early
Charging should not be solved at the last minute.
Before the vehicle arrives, the buyer should know where the charger will be used and whether the power location is practical. The charging area should be dry, protected, accessible, and suitable for the equipment. The power connection should not sit in direct rain, standing water, mud, vehicle traffic, animal paths, or busy walkways.
The charging plan does not need to be complicated, but it should be intentional.
If the vehicle will be used every day, the charging location should be part of the normal storage routine. Workers should not need to search for an outlet, drag a cable through a busy path, or move several items just to charge the vehicle.
Follow the manufacturer’s charging instructions and use the proper charger for the equipment.
A good charging setup makes daily use easier.
Decide where manuals, charger, and accessories will stay
Delivery day often includes more than the vehicle.
There may be a charger, manual, keys, small parts, accessories, hardware, or basic documentation. These items should not be left randomly in the cargo bed or placed somewhere workers will forget.
A small storage location should be chosen for the charger and important accessories.
This may be inside a maintenance room, tool cabinet, barn office, shop shelf, equipment shed, or labeled supply area. The charger should be kept where it can be used easily and protected from unnecessary damage.
The manual and basic information should also be kept where the owner or team can find them later.
This sounds simple, but it prevents confusion after the first week.
Make the first route easy
The first use should not be the hardest use.
After delivery, many owners want to test the vehicle immediately. That is understandable, but the first route should be simple and controlled.
Choose a firm, open, low-risk route. Avoid tight barn aisles, animal areas, steep slopes, soft turf, crowded tool zones, narrow gates, or busy shared paths for the first movement. Let the operator become familiar with the vehicle before using it in the most difficult part of the property.
A good first route may be a gravel lane, compacted yard, open equipment area, or short path between storage and a material staging area.
This helps the operator understand turning space, stopping distance, cargo bed position, control feel, and basic movement before real work begins.
The first route should build confidence, not stress.
Start with a light practical load
The first working load should usually be moderate.
There is no need to make the first job a maximum-load test. A new operator should begin with a practical, low, stable load that stays inside the cargo bed and is easy to control.
This may include light tools, a few feed bags, dry mulch, wood chips, bedding bags, yard debris, or a small amount of soil or compost. Avoid starting with heavy wet material, large gravel loads, awkward debris, or tall loose material until the operator understands the vehicle’s movement.
A light practical load helps the team learn how the vehicle handles real work without making the first job too demanding.
The goal of the first load is not to prove the limit.
The goal is to begin a dependable workflow.
Check the cargo bed before real work
Before the hauler is used for daily work, the cargo bed should be checked.
The bed should be clean, lowered, and ready for the type of load planned. It should not contain loose packaging, tools, straps, small parts, debris, or forgotten accessories. If the bed will be used for dumping, the operator should confirm that nothing inside the bed should be removed by hand first.
This is especially important if the vehicle was unpacked or inspected in the same area.
Small items can be left in the bed without anyone noticing.
A clean cargo bed prevents confusion when the vehicle begins hauling materials such as mulch, compost, soil, gravel, manure, bedding waste, tools, or supplies.
Think about who will use it first
A new work vehicle should not be handed to every worker at once without a plan.
The owner or manager should decide who will operate it first and what work it will support. One person may be responsible for learning the vehicle, parking it, charging it, checking the cargo bed, and returning it to the correct place after use.
This helps create a routine.
If several workers use the vehicle immediately without clear responsibility, the charger may be misplaced, the vehicle may be parked in the wrong area, or the bed may be left dirty after the first job.
A battery-powered dump cart becomes more useful when someone is responsible for the first setup and daily habit.
Match the first job to the real purpose
The first job should match the reason the vehicle was purchased.
If the hauler was bought for horse stable manure work, start with a simple stable cleanup route. If it was bought for landscaping, start with mulch, wood chips, soil, or yard debris on a clear route. If it was bought for farm maintenance, start with feed-area cleanup, compost movement, or light material transport. If it was bought for property maintenance, start with tools, branches, trash bags, or service supplies.
The first job should show workers how the vehicle fits the property’s daily routine.
A good first job creates confidence and helps the team understand where the vehicle saves time.
A poor first job can make the vehicle seem inconvenient, even if the problem is only bad setup.
Keep clean and dirty tasks separated on day one
Delivery day and first-use day should not become messy.
If the vehicle will carry clean supplies such as feed bags, clean bedding, tools, repair parts, or packaged materials, those should be handled before dirty materials when possible. Manure, wet bedding waste, muddy soil, compost, trash bags, and wet debris can leave residue in the bed.
Starting with dirty material can make the vehicle less ready for clean tasks later in the same day.
A simple clean-to-dirty order helps the vehicle stay organized during the first use. It also teaches workers a useful habit for future mixed-use days.
The first day should create good routines, not bad ones.
Do not let the new vehicle become a storage shelf
A cargo bed can quickly become a place where workers drop random items.
On delivery day, this may include packaging, straps, tools, paperwork, gloves, buckets, charger parts, or loose hardware. Later, it may become a place for forgotten tools, feed bags, empty containers, or debris.
That habit should be avoided from the beginning.
The cargo bed should be treated as a working load area, not a permanent storage shelf.
If tools and supplies need to ride in the bed, they should be organized and removed when the job is finished. If the vehicle will be parked overnight, the bed should be empty or properly cleaned.
A clean bed makes the vehicle more ready for the next job.
Confirm the regular storage routine
After the first movement and first job, the team should return the vehicle to its planned storage location.
This is where the routine begins.
The vehicle should be parked on firm ground, not blocking gates, doors, animals, walkways, tools, or other equipment. The bed should be lowered. The cargo area should be checked. The charger should be stored or connected according to the planned charging setup. The vehicle should be easy to access the next morning.
If the team does not establish a routine on the first day, the vehicle may start moving randomly around the property.
A regular storage and charging habit makes the hauler easier to use every day.
Questions to ask before delivery day
Before the battery-powered dump cart arrives, the buyer should ask practical questions.
Where will the delivery vehicle stop?
Is the receiving surface firm and open?
Can the hauler move from delivery point to storage?
Are gates, paths, and work routes clear?
Where will the charger be kept?
Where will the vehicle charge?
Is the charging connection protected from rain and traffic?
Who will inspect the vehicle first?
What will the first simple route be?
What light first load should be used?
Where will the hauler stay after the first job?
These questions turn delivery day into a smoother setup.
A better first day creates better daily use
A battery-powered dump cart is purchased to save labor, not to create confusion.
The first day matters because it sets the pattern for future use. If the delivery point is clear, the charging location is ready, the storage area is practical, the first route is simple, and the first load is controlled, the team can begin using the vehicle with confidence.
Good delivery-day planning does not need to be complicated.
It only needs to answer the real questions before the vehicle arrives.
Where will it land?
Where will it go?
Where will it charge?
Who will use it first?
What job should it do first?
Where will it stay tonight?
When those answers are clear, the hauler can become part of the daily work faster.
The better the first setup, the easier it is for the vehicle to support farm, stable, ranch, landscaping, nursery, and property maintenance work every day.